Monday 29 August 2011

Spinach pie

Spinach is in season at the moment. We've eaten lots of spinach this winter. We have grown some silverbeet in the garden and English spinach has been cheap to buy - so I've been putting it in curries, pasta bake, pasta sauce and savory muffins. We all loved this pie - Mr Fun has eaten the left-overs for the last few days!


1 bunch spinach, roughly chopped
1 tablespoon olive oil
1 large brown onion, finely chopped
4 garlic cloves, finely chopped
fresh parsley, finely chopped
1 cup grated tasty cheese
4 eggs
1/2 cup self-raising flour
1 1/2 cups milk
a few slices of stale bread, food processed into crumbs

* Preheat the oven to 180 fan-forced.
* Grease a 23cm pie tray (or similar - I actually used a 24cm square silicone cake tray) and line with the bread crumbs.
* Heat the oil in a pan. Fry the onions and garlic until golden. Add the spinach and cook until wilted. Turn off the heat.
* In a bowl or large jug, whisk the eggs and flour together. Add the milk & whisk to combine.
* Combine flour/egg/milk mixture with the spinach/garlic/onion. Add the parsley and cheese and stir through. Pour into the tray on top of the bread crumbs.
* Cook for 35 mins, or until golden and set (if you inset a knife, it should come out clean).

This would be really yummy with bacon too!

Protecting "super baby" from launching off the balcony

Our balcony has no railing. It's not that high (only 3 steps at the highest point), but kids seem to have this fascination with climbing off it, jumping off it and driving toys off it. When Mr Sociable was smaller, I remember watching him go head-first over the end of the balcony into the dirt - his whole body flipping over, his entire weight on his head/neck. It was a horrifying moment, seeing his neck twist unnaturally - too late to catch him. He was fine - covered in dirt, very upset - but otherwise ok. Since then I've been a bit wary about the high end of the balcony. So, it worries me when Mr Fun thinks it would be a good idea to climb down the concrete stairs.
We've been halfway through this project for a long time - fixing shades to the side of the balcony. But today, spurred on by an adventurous baby, I finally finished it. I like that we now have a shady area for the kids to play in the sand, or on the mini-tramp, without me worrying that Mr Fun is going to dive over the edge. As a bonus, I can now use the stairs for plants - because this area gets great afternoon sun!
Inside, all nice and neat
Inside, full of kid stuff
Outside - the steps now covered in plants

Tuesday 23 August 2011

Cooking with kids: fish fingers (not from a box)

I have recently started making my own fish fingers. Mr Sociable asked me if he could help me to make dinner. I wasn't sure how it would go - but it was a surprisingly pleasant experience (and dinner was yummy too!)

 
Mr Sociable crushing up the cornflakes into crumbs

 Mr Sociable crumbing the fish

 Crumbed and ready to go in the oven 
 Finished product

Mr Fun liked them

 
Mr Sociable liked them
Mummy was happy :)

Saturday 20 August 2011

I love... pizza

A crispy crust, delicious tomato sauce, olives, sun-dried tomatoes, capsicum, mushrooms, bacon, fresh herbs, cheese.... No, not Pizza Hut! I like real pizza, good pizza (eg. Pompei's at Bondi Beach). I also like making our own.

Recently, Franky has been making a thin crust with a self-raising flour damper, but today I thought I would try using the breadmaker to make the bases.


As a family meal, home-made pizza is great because you can hide so many vegies under the cheese! Tonight's had shredded carrot, capsicum, heaps of parsley, tomatoes, bacon, olives, sun-dried tomatoes, dried herbs & cheese. We've also used peas, beans and mushrooms.

Mr Fun (ate 3 baby-sized slices)

Mr Sociable (poor kid didn't want to stop eating,
even though he was falling asleep in his chair!!)

Friday 19 August 2011

Quick tip - tightening the elastic waistband on kids' pants/skirts

Since Mr Fun has moved into size 1 pants, I've been having trouble keeping them up. He needs the length of the 1s, but the waist is too big. Not sure if it's because the elastic is old (they are hand-me-downs from Mr Sociable) or because he is leaner than Mr Sociable was at the same age.

So, I've started sewing in new elastic - but not unpicking the whole waistband, just sewing in new elastic over the top. It takes about 10 mins & it's much cheaper than buying new pants. Just need to get some strong waistband elastic (I buy the 20mm non-roll variety).

Here it is, step-by-step:

 
Old, stretched-out waistband

 Set your sewing machine to this stitch (like a zig-zag, but with multiple stitches)

 Sew along the end of the elastic to secure it

 Stretch out the elastic while you sew along the top edge

 Sew along the other end of the elastic

 Stretch out the elastic while you sew along the bottom egde

 Finished! (inside view)

 Finished! (outside view)

 Modelled by Mr Fun

Thursday 18 August 2011

Teaching kids to spell and write their name

Mr Sociable knows how to say the letters in his name, but is still learning to find the written letters and put them in order. We are also practising writing the letters in his name. The other day, while practising his name in our 'learning time', he said to me, "This is really fun Mummy." This morning he said, "I can't wait until our learning time today." These comments make me happy :) Learning can be fun!

So, here are some tips and fun ideas for teaching your kids to spell and write their name:

* Check that you are writing the letters "correctly" (ie. the way they will be taught at school) before you teach them to your kids. So many of the kids in my class had to "unlearn" what they had been taught at home because their parents' writing style was different to what is taught in school. Here is an alphabet chart written in NSW Foundation Handwriting style.

* Teach kids to write their name as a combination of upper and lower case (eg. B-e-n, not B-E-N). This is how they will be expected to write their name at school - so it helps if they learn it this way at home too.

* Spell out their name with magnets or foam letters

 Foam letters

* Write their name in highlighter for them to trace in texta, crayon, pencil, or a different colour highlighter.

Highlighter

* Make a name card with typed, outlined letters (I use the NSW foundation font; if you don't have access to this, just use comic sans - so long as you are not married to a graphic designer ;) ). Laminate the paper & let give your child a "grown up" whiteboard marker to trace their name. If you don't have a laminator, you could tape the paper onto the outside of the glass, then use a whiteboard marker on the other side of the glass to trace the letters.

Tracing letters through a glass door

* Help your child to find the letters of their name in a magazine. Cut the letters out & arrange them in order.

* Write the letters of your child's name. Cut them out. Ask your child to arrange them in order.

 
Cut out letters

* Practise writing their name in different mediums (eg. with pencil on sandpaper, with a stick in sand, with a skewer in playdoh)

Writing in the sand

Monday 15 August 2011

I love... our hammock

We have been using the Amby hammock for Mr Fun's day sleeps since he was a few days old. He sleeps so beautifully in there. I wish we had one when Mr Sociable was a baby!

 1 week old

2 months old (Hannah Jayne Photography)

 11 months old

Friday 12 August 2011

Bob the Snake*


We have had another week of 'sick' this week (read: a LOT of time at home). Today I suggested to Mr Sociable that we should make a snake. I got the idea from here. He took a little bit of convincing that it was worth getting his hands messy.

 
This was not too messy...

 ... but this was?!?

Once we got started, he enjoyed covering the toilet rolls in tissue paper. We used yellow foam pieces for the eyes and I cut a piece of red ribbon to shape for the tongue. Once it was dry, I punched holes at each end of the toilet rolls - on top and underneath. I threaded the toilet rolls together (on top and underneath) with green curling ribbon, leaving a little slack so that the snake bends.

top view

 underneath

* In case you were wondering - yes, Mr Sociable did name him :)

Thursday 11 August 2011

Early learning about numbers #1

Mr Sociable will be starting prep next year. To help get him ready for that 'school' environment, I've recently started to include some structured "learning time" in our day. He thinks it's really fun - most of the learning is game-based - and he loves having one-on-one attention from Mummy while Mr Fun is asleep.

When preschoolers are learning about numbers, there are two skills to master - counting and identifying numbers.

Counting aloud
Practise counting forwards to 10 (this is the expectation for kids beginning kindy - that they can count to 10). If they have mastered that & are looking for a new challenge, practise counting to 20, or backwards from 10. Don't be surprised if they consistently leave out a particular number (eg. Mr Sociable always forgets 15). Just keep practising - they will get it eventually!

1, 2, 3, go!

Suggestions for making counting fun:
* counting in different voices (eg. cranky voice, loud voice, soft voice, singing voice, etc)
* counting to a beat (eg. drums)
* counting while jumping, skipping, walking, etc
* counting in anticipation (eg. count to 10, then Mummy swings you in the air)
* counting how long it takes to complete a task (eg. can you put on your shoes before I count to 20?) 

Counting objects
When kids are first starting to count, they often don't recognise that the numbers they are saying can correspond to objects. To help them see this correspondence, encourage them to point to objects & count in an ordered way (eg. along a line) or move the objects as they count, so that they know where they are up to.

Making counting fun:
* count out food items (eg. you can have 10 sultanas. Ask child to count them out & make sure there are 10?)
* play with stamps on paper (eg. can you stamp me 8 butterflies? Ask child to count them & check there are 8)
* count number of toys (eg. how many toys do you think we could fit on the chair? Fill up the chair with toys & then count how many there are)

Identifying numbers
The other early number skill is recognising numbers in written format. You can begin by teaching numbers 1-5. Then introduce 6-10. Then 10-15, etc. Again, this learning can be lots of fun. Here are some suggestions:
* number jump - use a foam number playmat on the floor, or write the numbers outside with chalk. Ask your child to jump on the numbers as you call them out (eg. jump on 5, jump on 8, jump on 2, etc)
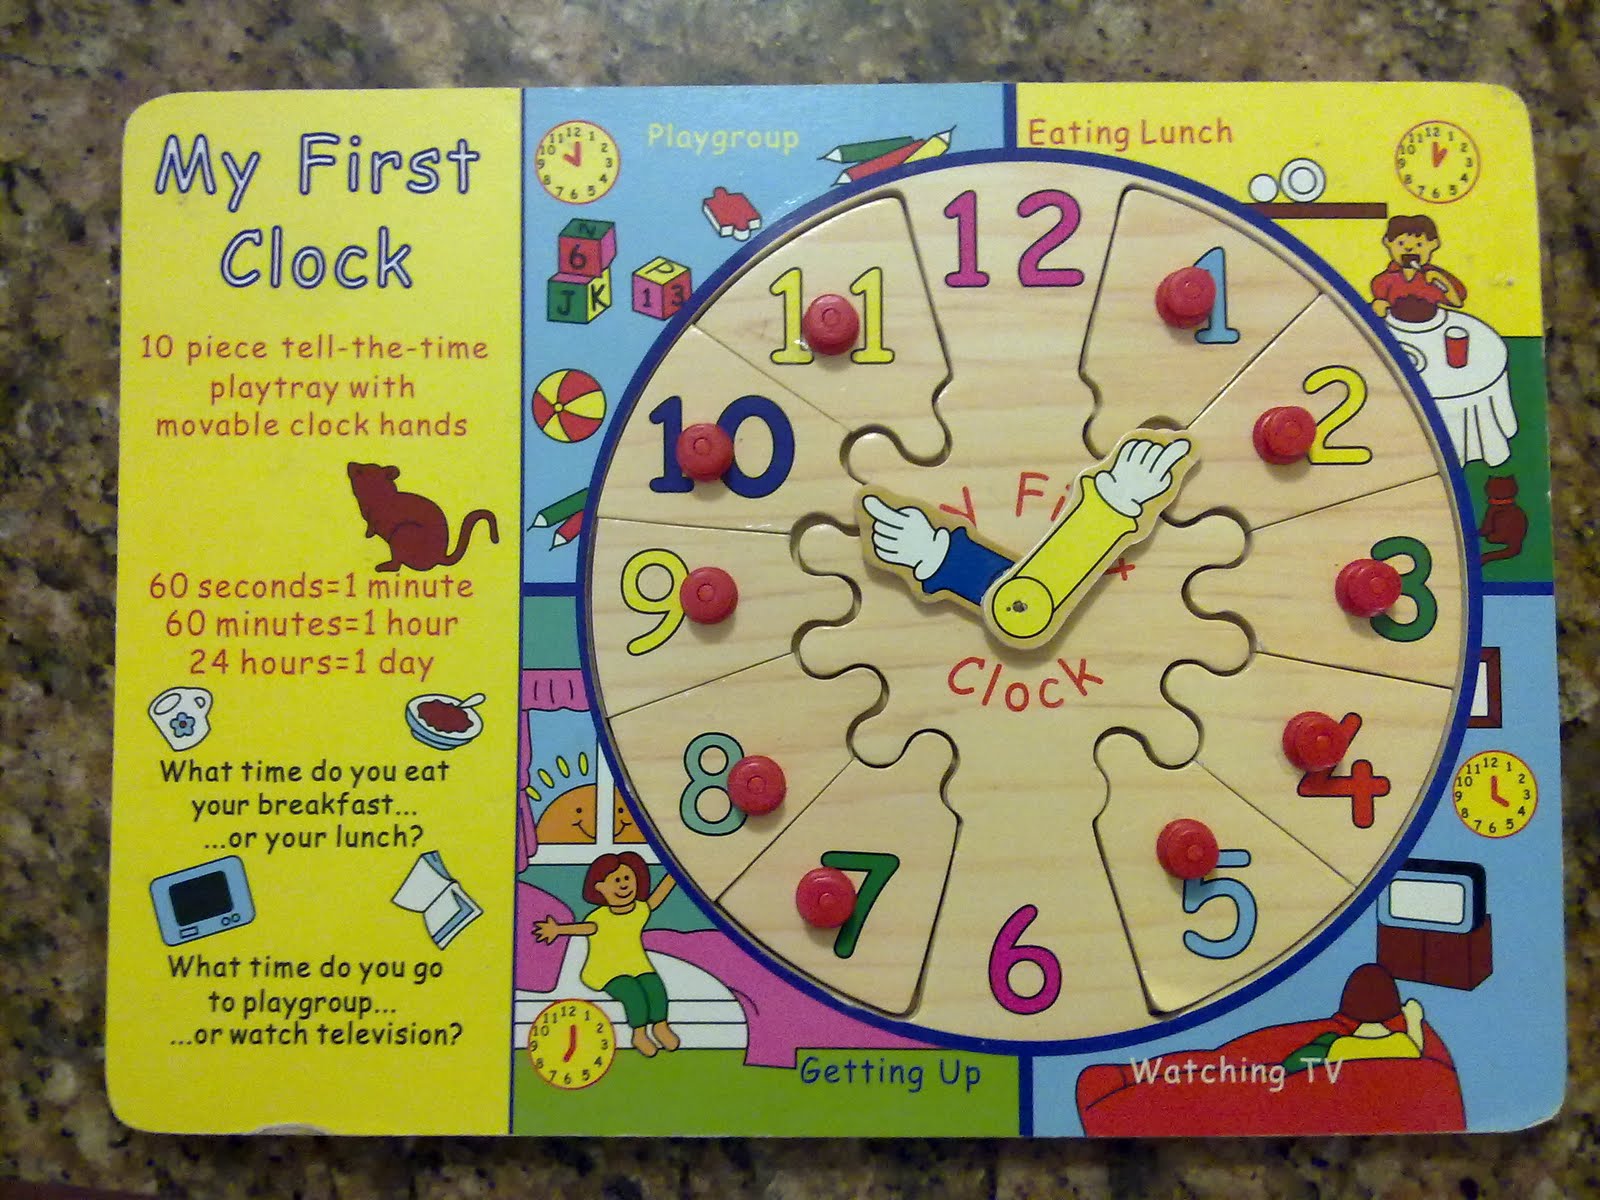
* number puzzles - these are relatively cheap to buy, or you can make your own. The main thing is that the child needs to match the numerals up (so that they put the 2 on the 2, the 3 on the 3 etc). Talk about the numbers as you do the puzzle. Show them how the numbers are in order. Point to each number and count them.
* magnet play - play with number magnets on the fridge. Ask your child to find particular numbers (eg. can you find me the 4? can you find me the 2?). Practise ordering the numbers - count from 1 up to a certain number & ask what would come next? (at this age, they will generally need to start counting from 1)
* racing car game - download this file. Print out the cars and laminate or attach to cardboard. Cut out the cars. Only use numbers appropriate to your child's stage of learning (1-5, or 1-10), then increase as your child's knowledge increases. Ask your child to find particular cars (can you find car 5? can you find car 10?). Practise lining the cars up in order, then ask them to point to particular numbers (how quickly can you point to 1? how quickly can you point to 5?). Kids in my class used to love having races (I would print out 2 sets of cards & they would race to see who could get them into order first).

Games involving counting and identifying numbers
* Butterfly match. Print out this template for the game. Laminate the pages, or stick onto cardboard. Cut out the butterflies. Lay the number cards out in order. Put the dot cards in a pile. Take turns to turn over a dot card and count the number of dots (practise counting in an orderly way, along the line). Match up the dot card with the number card.
* Hairy faces. Draw a large face for each player. Make a set of cards with numbers 1-10 (or 11-20). Put the numbers cards in a pile, face-down. The first player turns over one of the cards and reads the number. They then add that number of paddle pop sticks or pieces of string to the face as hair. The second player does the same. Focus on identifying the number, then counting out the correct number of "hairs" (extension of this activity is to ask - which head has more hair?).

Tuesday 9 August 2011

Kangaroo Sausage Rolls

Sausage rolls are YUM! But often not very healthy. Today I made a healthy version that my family loved :) Best of all, I made 48 of them - so I can freeze some for another night!


Lohtown Sausage Rolls 
makes 48 "party" size sausage rolls

1kg pack puff pastry (I buy the fat-reduced pampas 6 pack)
1kg lean mince*
2 large zucchini, grated
3 carrots, grated
1 cup breadcrumbs
2 eggs
4 cloves garlic, finely chopped
1 brown onion, finely chopped
fresh parsley, chopped

Lay the pastry sheets out to thaw. Mix the other ingredients together in a bowl. Cut the pastry pieces in half. Lay the sausage filling lengthways on the pastry. There is enough filling to make 12 long rolls (the length of a pastry sheet).


Fold the pastry up to cover the filling and place on two baking trays.


Cook for 20mins at 200 (180 fan-forced). You may need to switch the trays at this point, if they are cooking unevenly. Lower the heat to 180 (160 fan-forced) and cook until golden (about 20mins).


I found the bases of mine were a little soft (I think because of all the vegie goodness!!), so I crisped them up on the griller tray before serving. Cut into pieces & serve with steamed vegies or salad.


* I used kangaroo mince. It's 98% fat free, tastier than beef mince, relatively cheap ($7.50/kg at Coles) & high in iron. I have actually started to use Kangaroo mince most of the time (in pasta sauce, burritos, etc).

Sunday 7 August 2011

An Upcycle project: The day Mummy's jacket turned into pants

This past week has been so warm, feels like spring is on its way (hooray)! So I've cleaned out my wardrobe, weeding out all the winter clothes that I haven't worn this year. But what to do with my old velour jacket? Not really warm enough for a cold frog like me, but so soft, so difficult to throw away...


I decided to make it into some pants for Mr Fun.


I started by cutting off the sleeves. I left the cuffs on, so that they could be the cuffs at the bottom of the pants. I added some extra material (from the front of the jacket) to join the two sleeves together, so that the pants would be wide enough to fit over cloth nappies.


Next, I tried the pants on Mr Fun. They were not quite long enough in the rise. So, I cut the waistband from the jacket and made it into a waistband for the pants.


I inserted elastic into the waistband and finished off sewing the waistband.


Finished! They fit pretty well :) I did leave them a little long - so hopefully he will get a couple of months wear out of them before they get passed on to someone else.

Related Posts Plugin for WordPress, Blogger...