Materials
cellophane, cut into squares
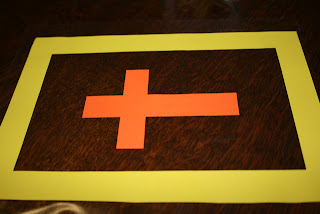
clear contact
scissors (optional: craft knife, metal ruler & cutting mat)
coloured paper
Directions
1. Print out the template (choose either A4 or A5). I used A5 paper (so that there wouldn't be too much area to cover before the kids lost interest!). In your printer settings, make sure you choose "actual size" rather than "scale to fit" & select the appropriate paper size (either A4 or A5).
2. Cut out the paper frame and cross.
3. Cut out the contact a bit bigger than the frame.
4. Stick the frame and cross onto the contact. After a bit of trial and error, I found the best way to do this was to roll the contact out gradually and smooth the frame onto the contact as you go (just like when you cover a book). I also found it helpful to do this part without kids "helping" ;)
 |
| Smoothing out the frame onto the contact |
 |
| Gradually peel away the backing paper |
 |
| Frame and cross stuck onto the contact |
 |
| With the backing paper stuck on |
 |
| First square |
 |
| Finished product |
Alternate projects:
* Use the same process to make an Easter card. Cut a window out of a blank card (I used a craft knife, metal ruler and cutting mat), attach contact to the front, stick a cross and coloured cellophane behind the window.
* Use other Easter-themed pictures to make your stained glass (picture of an Easter egg, Easter bunny, chicken, etc).


No comments:
Post a Comment